
|
|
|
|


Step 1Install DSI security certificate. If you're using Internet Explorer, click with the left mouse button on the previous link and choose "Open". If you're using another browser, like Mozilla Firefox, click on the link with the right mouse button and choose "Save Link Target As" to save the file. You'll have to open it afterwards by double clicking on the file. The certificate installation process will start, as described below. |
|
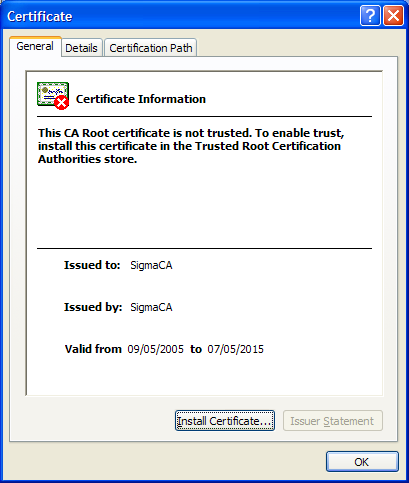
Step 2When the "Certificate" window appears, press the "Install certificate..." button. |
|
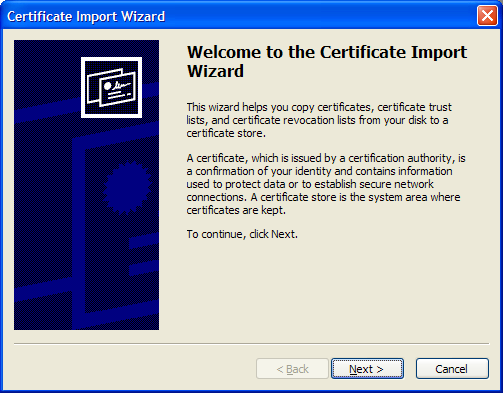
Step 3Press "Next" on the Certificate Import Wizard. |
|
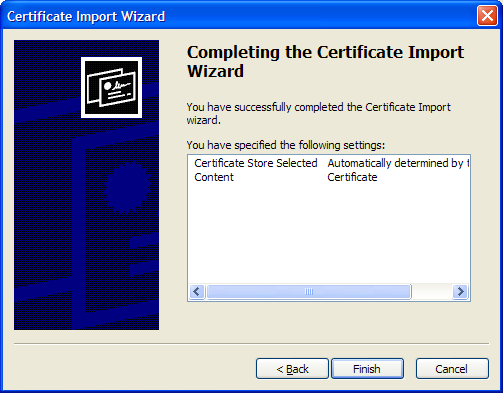
Step 4Choose "Automatically select the certificate store based on the type of certificate" and press "Next". |

|
Step 5Press "Finish" to close the Wizard. |
|
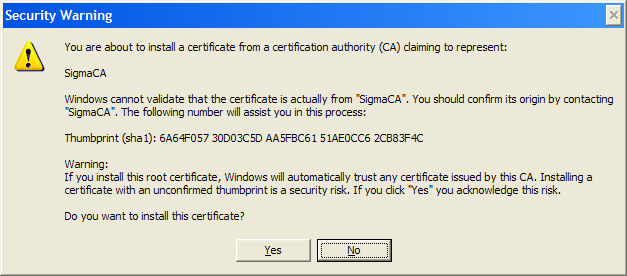
Step 6A new window will appear, asking to confirm the certificate installation. Answer "Yes". |
|
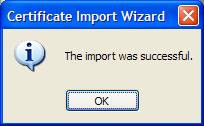
Step 7If all goes well, a confirmation will show up. |
|
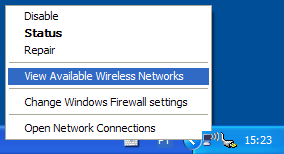
Step 8Click with the right mouse button on the wireless network icon and choose "View Available Wireless Networks". |
|
Step 9You should see the available networks listed. Click on the "Change the order of preferred networks" link |

|
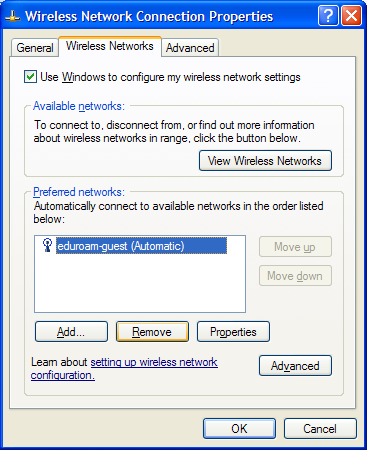
Step 10Press the "Remove" button to delete the 'eduroam-guest' connection. Afterwards, press the "Add..." button to create a new network connection. |
|
Step 11In the 'Association' tab, insert the 'Network name (SSID)', in this case eduroam. Choose WPA2 as the 'Network Authentication' type and AES as the 'Data encryption' method. |
|
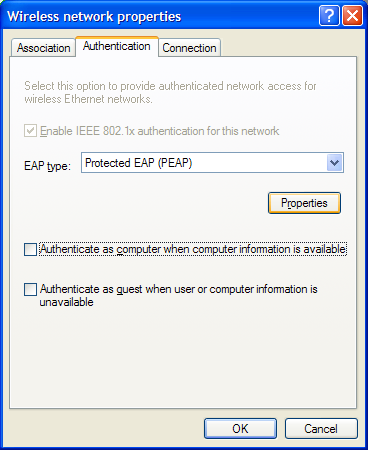
Step 12In the 'Authentication' tab, choose "Protected EAP (PEAP)" as the 'EAP type'. Check that both "Authenticate as computer when computer information is available" and "Authenticate as guest when user or computer information is unavailable" are turned off. Press "Properties". |
|
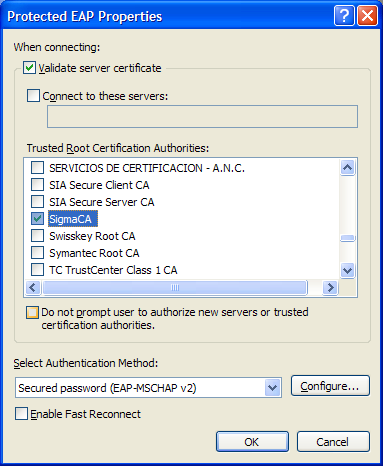
Step 13Activate "Validate server certificate". Select SigmaCA on the 'Trusted Root Certification Authorities'. In 'Select Authentication Method', choose Secure Password (EAP-MSCHAP v2). Press "Configure...". |
|
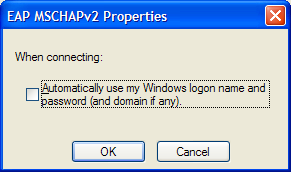
Step 14Uncheck the only option that appears in the 'EAP MSCHAPv2 Properties" window. Press "OK" to close all the open windows. |
|
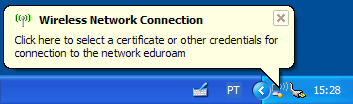
Step 15Windows will ask for your credentials as it tries to connect to the eduroam network. Click with the left mouse button on the baloon to enter the credentials. |
|
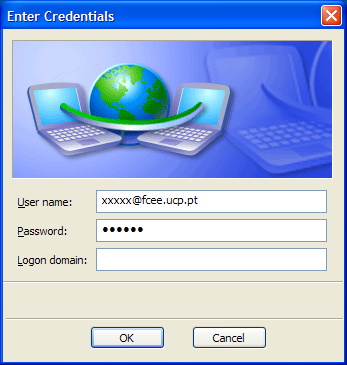
Step 16You must insert your username followed by the Portuguese Catholic Univerisity's headquarters domain "@lisboa.ucp.pt" and your password. Don't fill the "Domain" field. Your computer is now ready to access the UCP wireless lan, as well as the wireless lan of any e-U institution. |
|